2 Overview and Introduction
2.1 Part I: Data Science Best Practices
2.2 Set up your computer
2.2.1 Installation
- Install R 3.4.1 from https://ftp.osuosl.org/pub/cran/ . (Requires administrator privellege)
- Install RStudio Desktop free version from https://www.rstudio.com/products/rstudio/download/
- Git: Follow these steps to install Git for Windows (or for the specific operating system on your laptop). (Requires administrator privellege)
2.2.2 Installation Verification
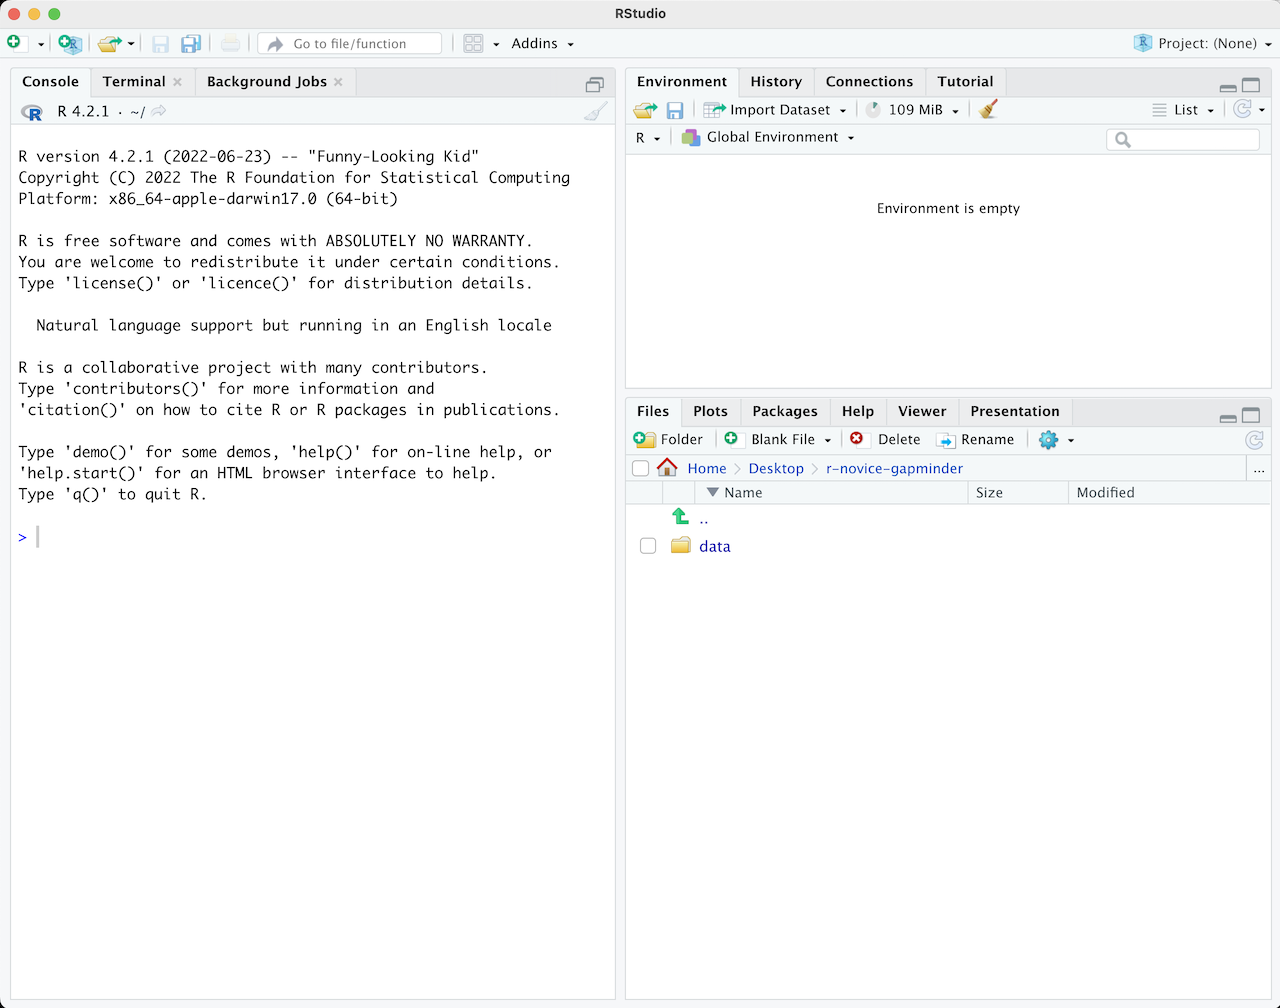
- Launch RStudio and you should see a program window like this:
- Click the File menu, select New Project…, then Version Control and Git;
- Copy & paste this URL: https://github.com/cities/datascience2017.git into the the Repository URL textbox;
- Click Create Project.
If you see a popup box that says “Clone Repsitory” with a progress bar and then RStudio refreshes, then your installation is working.
2.3 Why R
- Free, as in beer & speech
- Large and growing community, with more than 13,000 packages and growing
- Powerful and flexible
2.4 Introduction to R and RStudio
2.4.1 Project orgnization in RStudio
R experts keep all the files associated with a project together — input data, R scripts, analytical results, figures. This is such a wise and common practice that RStudio has built-in support for this via projects. For example, a project can be a R package under development, or code, data and documents for a research project, or a book project (for example, Hadley use a RStudio project for the R for Data Science book at https://github.com/hadley/r4ds).
A RStudio project must contain a file with extension Rproj and can contain any files within the directory where the project file lives or its subdirectories. Typical types of files in a RStudio project include: - R Script - R Markdown, R notebook - R Presentation - Shiny Web App - Text file, C++, html, …
Hadley recommends the following for RStudio projects workflow:
- Create an RStudio project for each data analyis project.
- Keep data files there and load them into R with data import.
- Keep scripts there; edit them, run them in bits or as a whole.
- Save your outputs (plots and cleaned data) there.
- Only ever use relative paths (relative to the root path of the project), not absolute paths.
Everything you need is in one place, and cleanly separated from all the other projects that you are working on.
I recommend organizing files in subdirectories by types, typically with at least these items: - project_name.Rproj, RStudio project file - README.md, a description file of the project - code, for R scripts - data, for data files - docs, for document/report files, such as R Markdown files
2.5 Exercise
Create a RStudio project for this class on your laptop, set up directory structure as recommended above, download the bike counts data file and save them in the data directory of your RStudio project.
2.6 Class project
For the class project, you are expected to create a R package with the following requirements and commit it to GitHub:
- Contains at least one self-contained function;
- Completed with necessary documentation;
- Passes R package check and test(s);
- [Advanced] includes a vignette that demonstrates the usage of the package.
You can take and/or re-organize code from your current work or start from scratch. Take the feasibility of completing in a week into consideration when selecting project ideas.
If you don’t have a feasible project idea at the moment, consider writing a R package that reads and visualizes the bike counts on Hawthorne Bridge and Tilikum Crossing. Daily traffic counts data for these two bridges can be found here. At the minimum, your package should be able to:
- Read the data in the excel files;
- Process (tidy) the data as necessary;
- Visualize bike counts on either or both bridges based on the data frame passed in;
- Plot daily bike counts for any specified period;
- [Advanced] Plot daily, weekly, or monthly bike counts based on an frequency argument;
- Pull weather data for Portland and study (visualize and/or model) the effect of weather on bike counts;
- [Advanced] Study (visualize and/or model) the effect of Tilikum Crossing (opened in September 2015) on bike counts on Hawthorne Bridge.
2.7 Learning more
The above will get your basic setup ready but here are some links if you are interested in reading a bit further.
- RStudio Cheat Sheet
- RStudio’s leads for getting help with R
- R FAQ:
- R Installation and Administration
- More about add-on packages in the R Installation and Administration Manual